
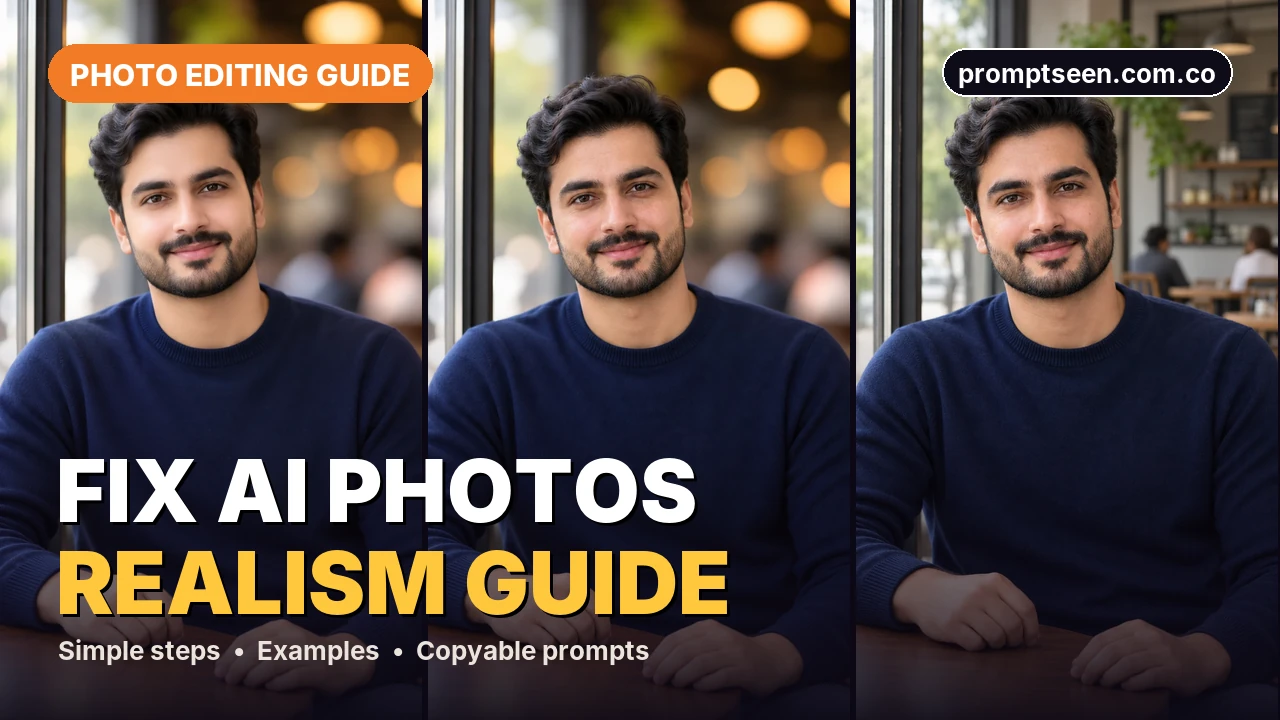
Find the detail that looks wrong before asking for another edit. Is it waxy skin, light from two directions, a bright hair outline or a hand that does not grip an object? Name one fault, ask for one repair and compare with the original. A longer prompt is not always a better fix.
Start With a Visible Fault
“Make it realistic” does not say what looks wrong. The face may look right while the hair edge looks cut out. The skin may look natural while a shadow falls the wrong way. Pick the fault you can see most clearly. Name it in one short sentence and ask to keep the rest of the photo.
Keep three files if possible: the source photo, the edit you are checking and the next repair. Compare them at the same zoom. Looking at one image full-screen and another as a small thumbnail makes small changes easy to miss. A useful repair should improve the named problem without creating a new one.
Match the Symptom to a Repair
| What you see | What to ask for | What to check |
|---|---|---|
| Waxy skin | Less smoothing, subtle texture | Cheeks, nose and under-eyes |
| Conflicting shadows | One existing light direction | Nose, neck and wall |
| Bright hair halo | Clean edge without bright outline | Hair against the new background |
| Merged fingers | Simpler hand contact | Finger count and object shape |
| Heavy blur or crunchy edges | Restrained depth and sharpening | Hair, signs and background shapes |
A Portrait Repair Example

Read the Example Honestly
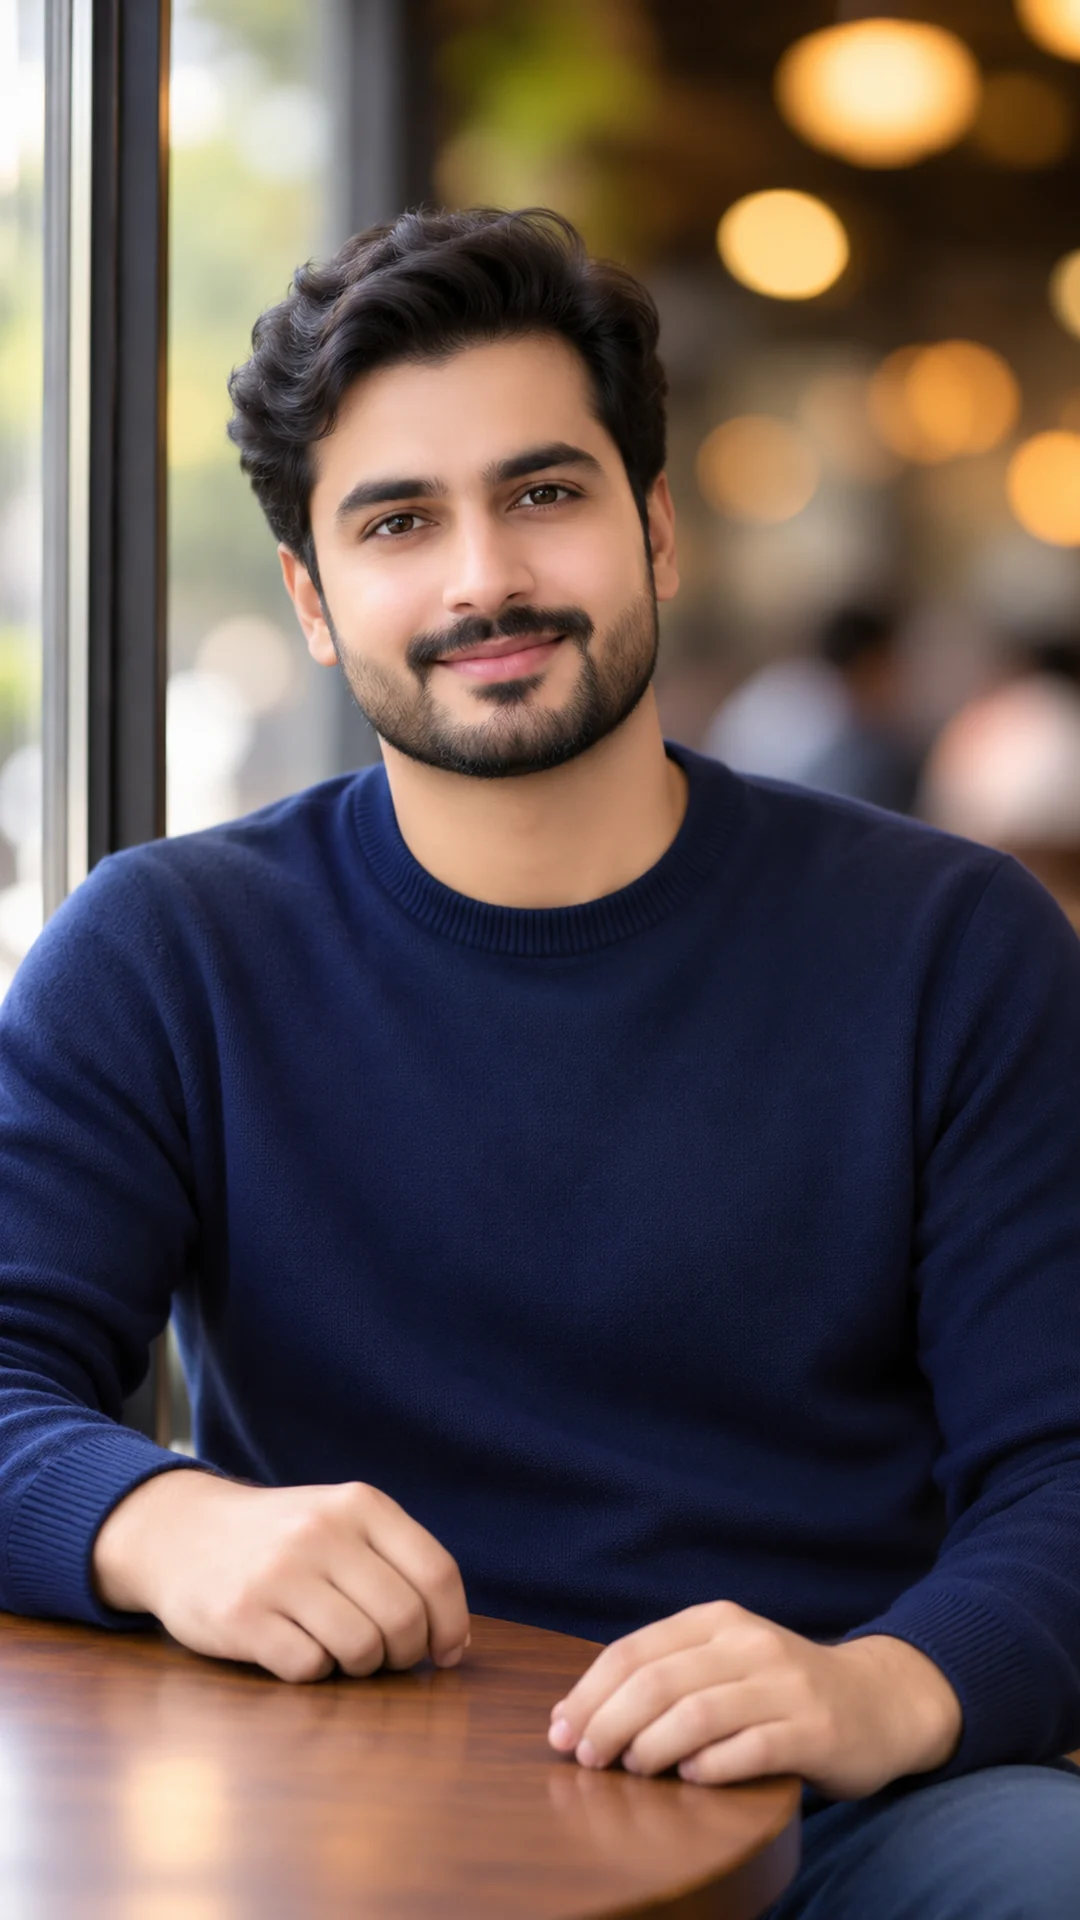
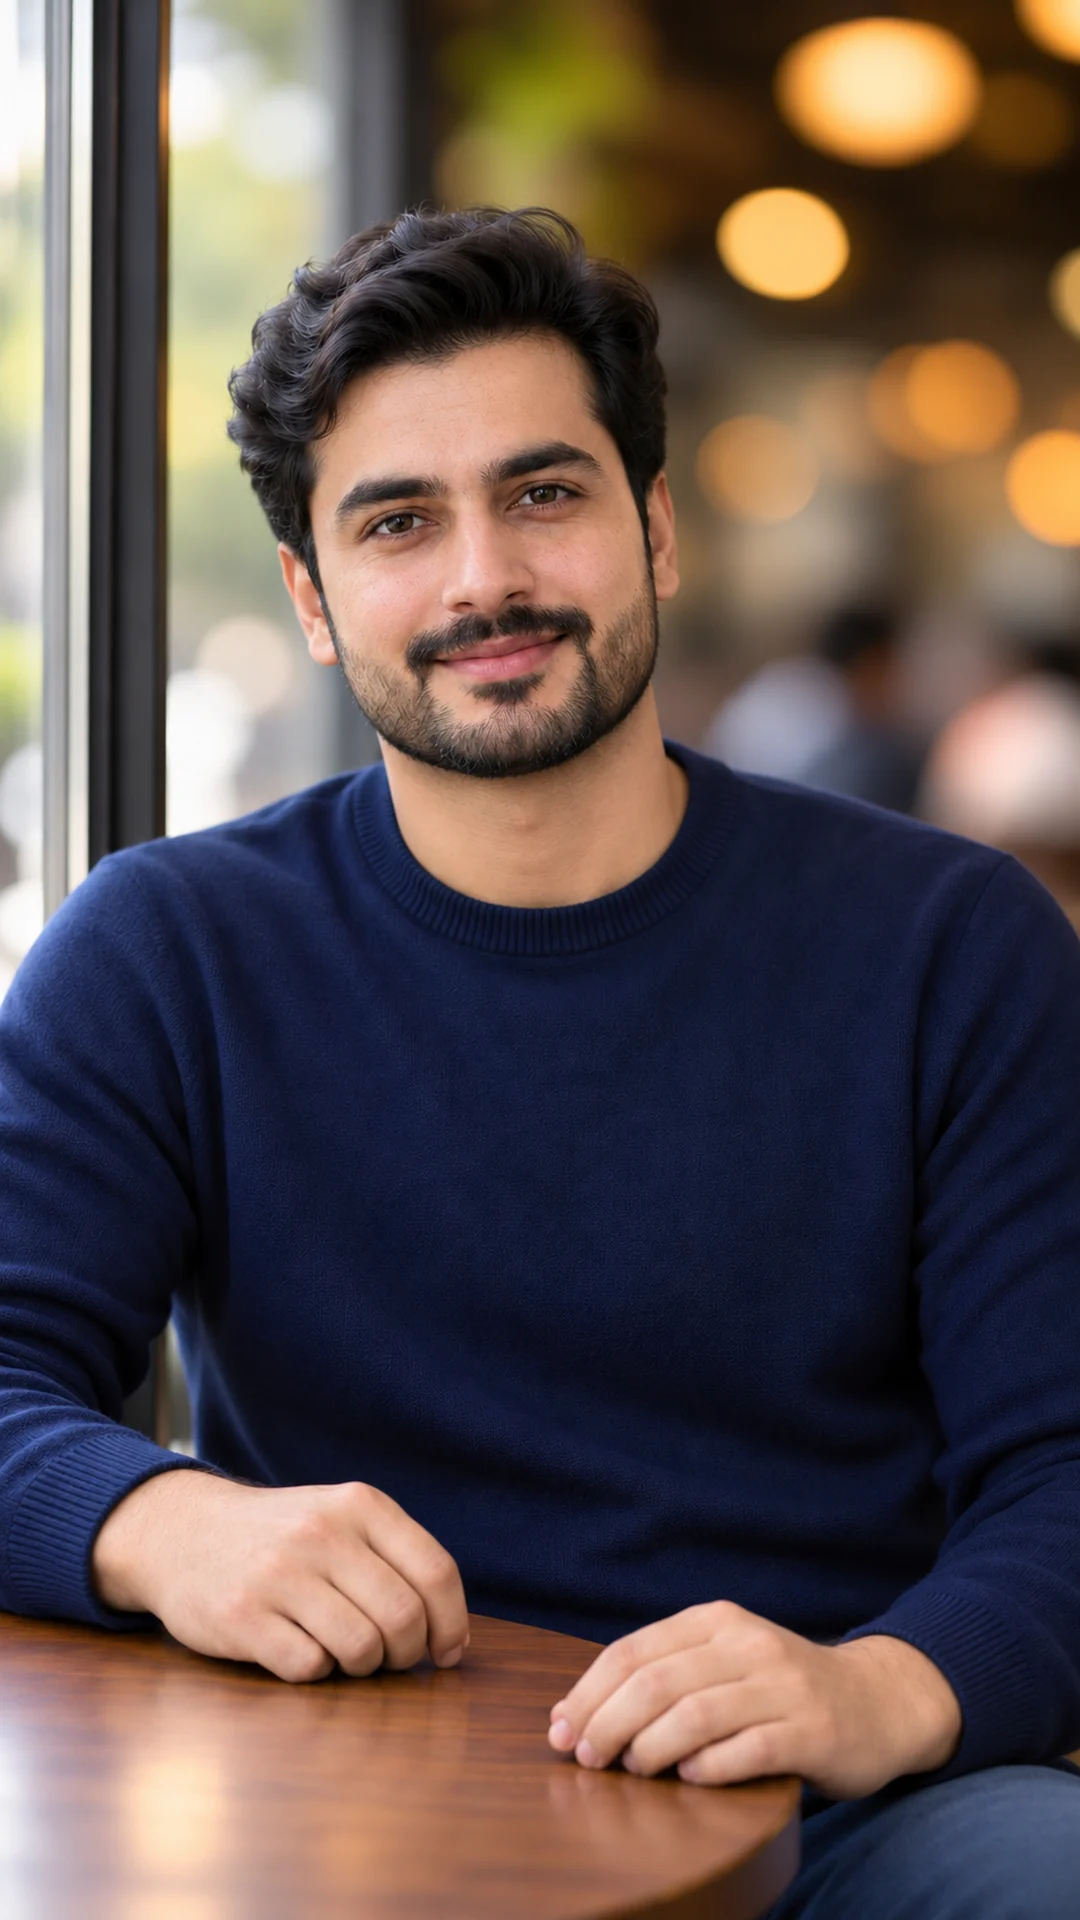
The three images above are generated teaching examples of one fictional adult. Both later versions were requested as edits of the first image. They show what to inspect, not recovered camera detail or proof that every tool produces the same result. Skin texture added by a generator is new detail, not a restoration of pores that were never recorded.
Notice that the balanced version also redraws some cafe details behind the subject. If preserving that exact location matters, reject that change and return to a narrower skin-only repair. A nicer-looking result is not automatically a faithful edit.
1. Reduce Plastic Skin Without Adding Noise
Look for a forehead with no variation, cheeks with a waxy shine and sharp eyes surrounded by a blurred face. Ask for less smoothing while keeping normal differences in tone. Avoid a request for “extreme pores” or “maximum sharpness”; it can replace one artificial effect with another.
If the face shape or expression changed too, texture is not the main problem. Restart from your source or use the face-preservation guide to set clearer limits. A convincing stranger is still a failed identity edit.
Copy: Repair Over-Smoothed Skin
Edit this image. Reduce excessive beauty smoothing on the face. Use restrained natural skin texture and slight normal variation in tone. Keep the same facial proportions, expression, age, skin tone, hair, clothes, pose, hands, background and crop. Do not add coarse noise, deep wrinkles, artificial pores or extra sharpening.
2. Make the Light Agree
Find the brightest side of the face, then look at the nose and neck shadows. If the scene shows a window on the left but the face is lit from the right, the person may look pasted in. Choose which existing source should lead. Do not add sunset, a flash and neon lights just to hide the mismatch.
A standing person also needs contact with the ground. A missing or detached shadow near the shoes can make them appear to float. State where the feet meet the floor and ask for a subtle contact shadow that follows the main light. Inspect the result; the instruction alone does not prove correct lighting.
Copy: Match the Main Light
Correct only the inconsistent lighting in this image. Use the existing window on the left as the main light. Make the facial, neck and nearby background shadows agree with it. Keep the person, identity, expression, outfit, pose, scene objects and framing unchanged. Avoid new light sources and heavy cinematic colour grading.
3. Check Hair and Shoulder Edges
A bright outline, missing flyaway hairs or background colour trapped around the shoulders can reveal a poor scene edit. Check both the light and dark sides of the hair. A soft edge can be right for shallow focus, but it should fit the rest of the photograph. If the whole replacement scene is wrong, use the background editing guide rather than repeatedly patching the outline.
For a manual hair-edge fix in Photoshop, Adobe explains how to improve a selection in Refine Hair for a cleaner hair selection.
Copy: Clean a Hair Halo
Fix only the unnatural bright halo around the hair and shoulders. Blend the edge with the existing background light while retaining visible strands and the current hairstyle. Keep the face, hairline, outfit, body proportions, background objects and crop unchanged. Do not make a hard cut-out edge or invent large new locks of hair.
4. Simplify Hands and Objects
Hands are easier to judge when the task is simple. A person holding flowers, a cup and a phone at once creates several overlaps. Name the failed contact, such as fingers merging with a cup handle. Ask for one hand holding one object and leave the other relaxed. If both hands have been redrawn badly, go back to the original instead of asking the model to guess what was there.
Copy: Repair One Hand Contact
Repair the visible hand holding the cup. Show a relaxed believable grip with separate fingers and a continuous cup handle. Keep the cup size, face, other hand, clothes, pose, table, lighting and framing unchanged. If the original reference is supplied, use its hand position as the guide. Do not add fingers or extra objects.
5. Use Less Blur and Sharpening
Too much blur can hide the cafe and leave only bright circles. Too much sharpening can add pale lines around hair or make cloth look rough. Ask for less of the effect. A bigger saved file does not bring back real detail that was missing. Zoom in to check edges, then view the picture at the size you plan to share. Look at both before you save it.
Sharpening can make edges look clearer, but it cannot restore missing detail. See Adobe’s explanation of what sharpening can and cannot do.
Copy: Calm the Background Blur
Reduce the excessive background blur and sharpening in this image. Keep a gentle depth of field with believable background shapes and soft edges. Keep the same subject, facial details, pose, clothes, main light and crop. Do not invent readable signs, add objects or change the location.
Repair Once, Then Decide
- Name the most visible fault and save the current file.
- Request one repair with a short list of details to preserve.
- Compare face, hands, light and edges against the source at the same zoom.
- Keep the repair if it improves the problem without changing other important details.
- Restart if several identity or scene details drift. Reuse the original with a smaller request.
Aim for a Believable Photo, Not More Effects
The best next step is often removing one effect. Keep light simple, let skin have normal variation and make objects easy to hold. For your next edit, explore examples on Prompt Seen and choose a scene you can describe clearly. The five repair prompts here are starting points; check the output instead of assuming they guarantee a fix.
AI Photo Repair Questions
Why does my AI edit look like a different person?
The model may redraw the face while changing the scene. Use the original reference, ask for a smaller edit and compare facial proportions before accepting it.
Can a prompt recover real detail from a blurry photo?
It can generate plausible detail, but that is not proof of what was in the original scene. Use a sharper source when exact detail matters.
Should I fix every flaw in one request?
Start with the biggest visible issue. A focused request makes it easier to see whether the repair helped or changed unrelated details.
Are these examples tested in both ChatGPT and Gemini?
No. These teaching images were generated and edited with the image tool used for this article. The prompts describe editing goals; results and available controls differ between tools.